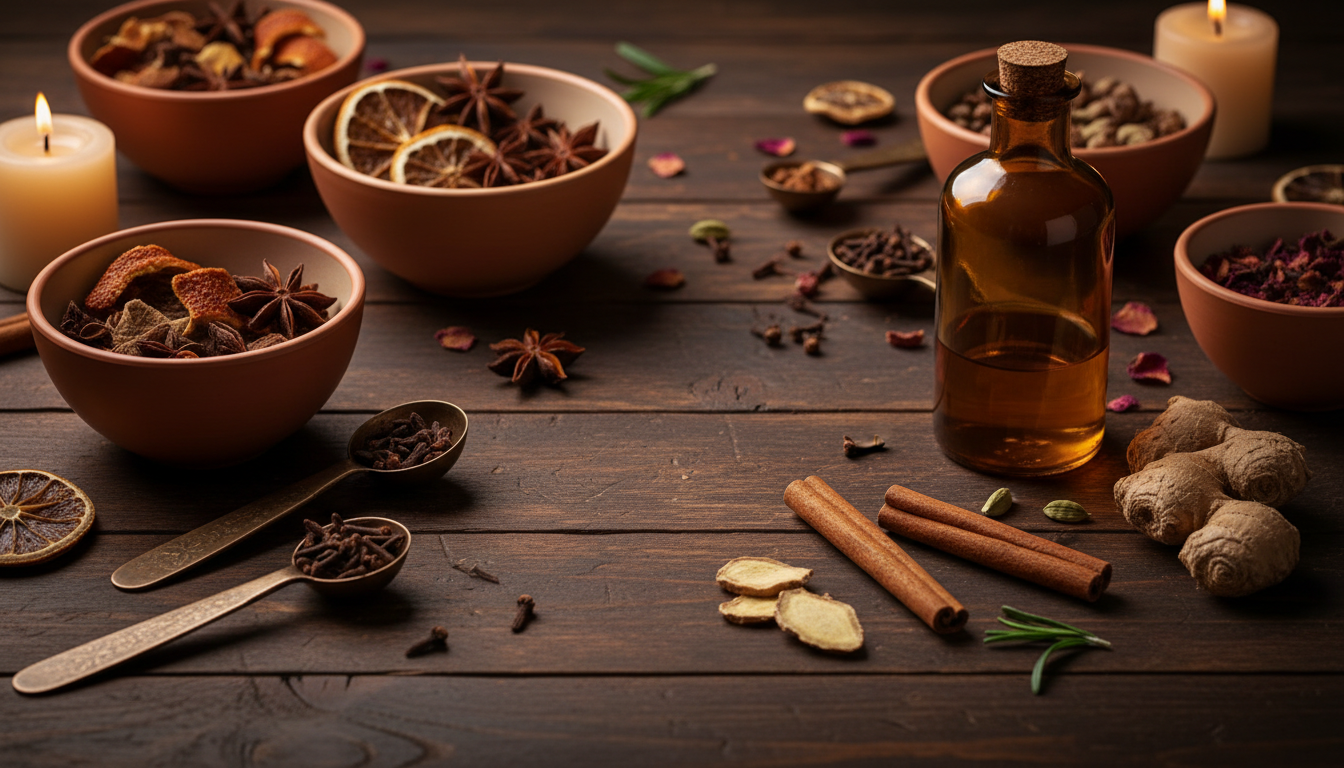
DIY Clove Spice Candles: A Warm Soy Candle Tutorial
There is something almost ceremonial about lighting a handmade candle in the evening. The flame catches, the wax begins to melt, and within minutes the whole room smells like a spice market at dusk. This clove candle recipe draws on that same ancient, comforting warmth that made clove one of the most traded spices in human history. With a few simple supplies and an afternoon to spare, you can fill your home with that slow-burning, dark spice scent all season long.
This tutorial walks through a classic soy candle making process designed for home crafters. The instructions are detailed enough for a first attempt, and there are plenty of variations at the end for those who want to push the recipe further.
Before You Begin: A Note on Essential Oil Safety in Candles
Clove essential oil is potent. It contains high concentrations of eugenol, a compound that can cause skin sensitivity at even moderate concentrations. In candle form, the oil disperses into the air rather than sitting on skin, which changes the risk profile considerably. That said, there are still important guidelines to follow before you pour a single drop.
- Fragrance load limits matter. The standard maximum fragrance load for soy wax is 6 to 10 percent by weight. For a clove-forward blend, stay at or below 8 percent total essential oil to avoid soot, poor burn performance, and overwhelming scent throw.
- Clove bud oil versus clove leaf oil. Clove bud essential oil has a rounder, softer scent profile and is the preferred choice for home candles. Clove leaf oil is sharper and more phenol-forward. Both work, but bud oil blends more smoothly with other warm spices.
- Ventilate your workspace. Work near an open window or use an exhaust fan. Melting wax and pouring essential oils generates fumes that can be irritating in an enclosed space.
- Keep essential oils away from open flames. Flash points vary by oil. Add your fragrance blend only after the wax has cooled to the correct pouring temperature, never while it is on the heat source.
- Skin contact during crafting. Undiluted clove oil on skin during the candle-making process is a real risk. Wear nitrile gloves when handling the oil. If skin contact occurs, wash with soap and water immediately. Do not use water alone.
- Keep away from children and pets during crafting. Hot wax and concentrated essential oils are not safe around curious hands or paws. Save this project for when little ones are occupied elsewhere.
- Not for use on skin directly. This is a candle recipe, not a body product. The fragrance load used here far exceeds what would be safe for topical use. Please do not apply melted wax or this essential oil blend directly to skin without proper dilution guidance. For topical blending advice, see our guide on blending with clove oil: the complete DIY and spice pairing.
If you have respiratory sensitivities, burn clove candles in well-ventilated rooms and limit session length. Consult a qualified healthcare provider with any concerns before introducing new aromatic products into your home environment.
Difficulty Level and Time Estimate
- Difficulty: Beginner-friendly with careful attention to temperature
- Active prep time: 30 to 40 minutes
- Cooling and set time: 24 to 48 hours before first burn
- Yield: Approximately 2 x 8-ounce candles
Equipment You Will Need
- Double boiler or a heatproof pouring pitcher set in a pot of simmering water
- Candy or candle thermometer (digital preferred)
- Kitchen scale (grams or ounces, must weigh to 0.1 oz accuracy)
- Two 8-ounce heat-safe glass jars (mason jars or straight-sided candle vessels)
- Wooden wick tabs or pre-waxed cotton wicks with metal sustainer tabs
- Wick centering bars or two pencils taped across jar tops
- Silicone spatula or wooden stir stick
- Nitrile gloves
- Small glass or stainless bowl for measuring essential oils
- Old towel or newspaper to protect your work surface
Ingredients and Measurements
| Ingredient | Amount | Notes |
|---|---|---|
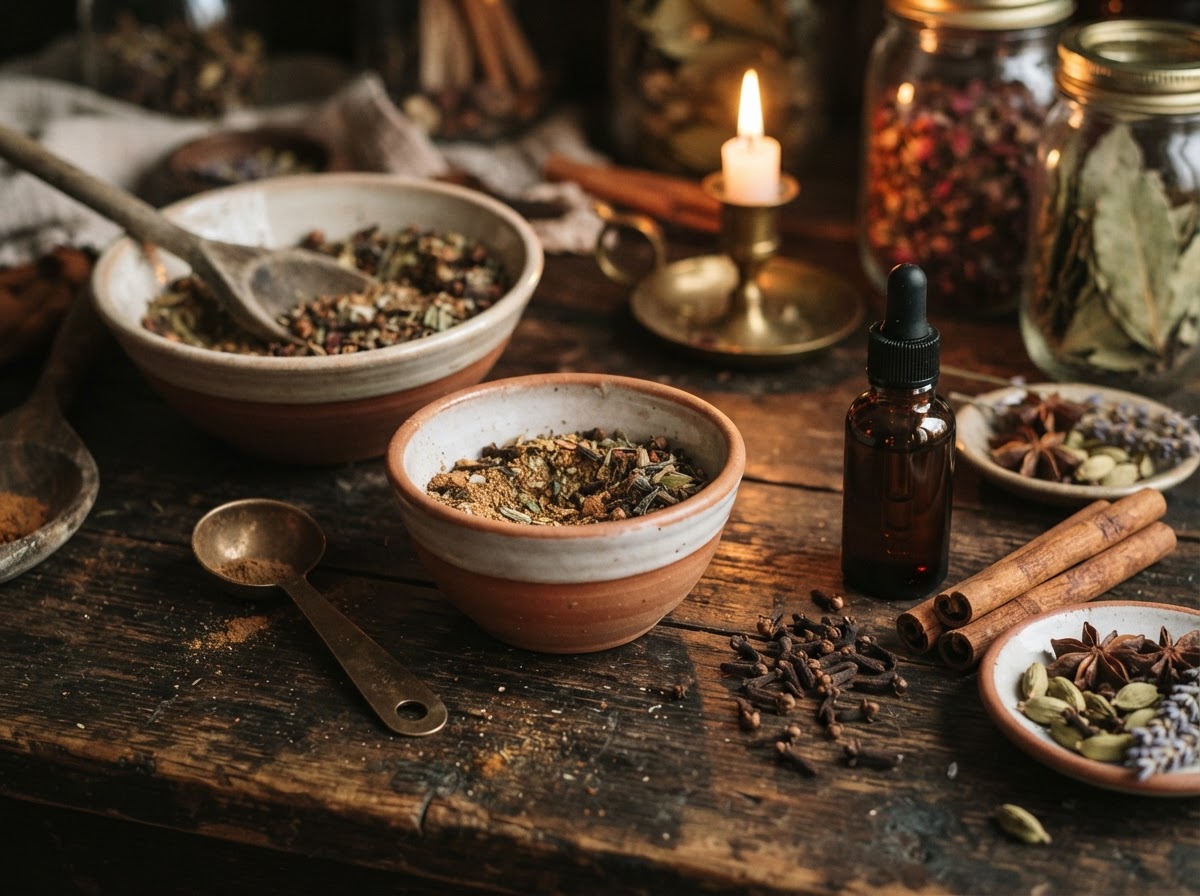
| Soy wax flakes (container grade) | 12 oz (340 g) | Look for Golden 464 or similar container soy wax |
| Clove bud essential oil | 0.5 oz (14 g) | Approximately 4 percent of total wax weight |
| Sweet orange essential oil | 0.3 oz (8.5 g) | Brightens and lifts the clove base |
| Cedarwood (Virginian) essential oil | 0.2 oz (5.5 g) | Adds depth and helps anchor the blend |
| Total fragrance load | 1 oz (28 g) | Approximately 8.3 percent of wax weight |
| Pre-tabbed cotton or wooden wicks | 2 wicks | Size to jar diameter (CD-18 or equivalent for 8 oz jars) |
A note on sourcing: Container-grade soy wax is specifically formulated to adhere to glass as it cools. Pillar-grade soy wax will shrink away from jar walls and is not suitable here. Check that your clove bud essential oil is listed as 100 percent pure with no carrier oil added; fragrance oils behave differently and may need different flash point calculations.
Step-by-Step Instructions
Step 1: Prepare Your Jars and Wicks
Set your glass jars on a level, heat-protected surface. Press or glue each wick tab firmly to the center bottom of each jar. Pull the wick upright and hold it in place by threading it through your wick centering bar or between two pencils resting across the jar mouth. The wick should stand straight. Wax that pools around a crooked wick will burn unevenly.
Step 2: Weigh and Melt the Soy Wax
Using your kitchen scale, weigh 12 ounces of soy wax flakes into your pouring pitcher or double boiler insert. Place over simmering water on medium-low heat. Stir gently and consistently. Watch your thermometer. You are aiming for 170 to 185 degrees Fahrenheit (77 to 85 degrees Celsius). Most container soy wax melts fully by 180 F. Do not let the wax exceed 200 F.
Step 3: Measure Your Essential Oil Blend
While the wax melts, weigh your essential oils into a small glass bowl: 0.5 oz clove bud, 0.3 oz sweet orange, and 0.2 oz cedarwood. Stir them together gently. Set aside. Do not add them to the wax yet.
Step 4: Cool the Wax to Pouring Temperature
Remove the melted wax from heat. This is the most important step for scent retention. Let the wax cool, stirring occasionally, until it reaches 130 to 140 degrees Fahrenheit (54 to 60 degrees Celsius). Pouring at too high a temperature will cause the volatile aromatic compounds in the essential oils to flash off before the wax sets. You lose scent throw and waste expensive oil.
Step 5: Add the Essential Oil Blend
Once the wax hits your target temperature range, pour in the premixed essential oils. Stir steadily for 2 full minutes. This is not just a quick swirl. Thorough incorporation helps the fragrance bind evenly throughout the wax rather than pooling at the bottom or top.
Step 6: Pour the Candles
Pour slowly and steadily into each prepared jar. Fill to about half an inch below the rim. Pouring slowly reduces air bubbles. Leave the remaining wax in the pitcher at room temperature.
Step 7: First Pour Cooling
Do not move the candles. Do not put them in the refrigerator to speed cooling. Rapid temperature changes cause cracking and sinkholes in soy wax. Let them sit undisturbed at room temperature for 2 to 4 hours.
Step 8: Second Pour (Top-Off)
Soy wax typically sinks in the center as it cools, creating a small well around the wick. Gently reheat your remaining wax to 130 degrees Fahrenheit. Pour a thin top-off layer just over any sunken areas. This second pour should be small. Overfilling creates a lopsided surface.
Step 9: Trim and Set
Once fully cooled and set (at least 24 hours), trim the wick to one quarter of an inch above the wax surface. For best scent throw and even burning, allow soy candles to set for a full 48 hours before the first burn. The fragrance continues to bind to the wax during this period. Yes, it is worth the wait.
Burn Instructions for Best Results
- On the first burn, allow the wax to melt all the way to the edges of the jar before extinguishing. This sets the memory ring and prevents tunneling on all future burns.
- Keep burn sessions to 3 to 4 hours maximum.
- Always trim the wick to one quarter inch before each burn session.
- Burn on a heat-safe surface, away from drafts, curtains, and anything flammable.
- Never leave a burning candle unattended.
- Stop burning when approximately half an inch of wax remains in the jar.
Storage Instructions and Shelf Life
Unlit, finished candles store well in a cool, dark place away from direct sunlight. UV exposure will fade both the wax color and the essential oil scent over time. Keep jars lidded when not in use to preserve fragrance.
Estimated shelf life for optimal scent throw is 9 to 12 months from pour date. The candle remains safe to burn beyond this window, but the scent may become noticeably softer. Label each candle with its pour date so you can track freshness.
Excess soy wax flakes store indefinitely in a sealed container kept away from moisture. Unmixed essential oils should be stored in dark glass bottles in a cool environment and used within their individual shelf life windows (typically 1 to 3 years for most, shorter for citrus oils like sweet orange).
Variations and Substitutions
Clove and Vanilla Hearth Candle
Replace the cedarwood with 0.2 oz of benzoin resinoid or vanilla CO2 extract. This produces a softer, bakery-warm scent rather than a forest-spice profile. Ideal for kitchen or dining room use.
Spiced Winter Blend
Use 0.4 oz clove bud, 0.2 oz cinnamon leaf (not cinnamon bark, which has a very high skin sensitization rating and can cause wick clogging), 0.2 oz ginger, and 0.2 oz sweet orange. This is a classic diy spice candles combination that smells like a simmering pot on the stove.
Smoky Clove for the Study
Replace sweet orange with 0.3 oz black pepper essential oil and reduce cedarwood to 0.1 oz. Add 0.1 oz vetiver. The result is darker and more resinous, well-suited to a library or reading nook.
Wax Substitutions
Coconut wax (container grade) works beautifully with this clove candle recipe and gives an exceptionally smooth top surface. It is softer than soy and benefits from a slightly lower pouring temperature (125 to 135 F). Paraffin will also work and produces a stronger hot throw, though it comes with different environmental and sourcing considerations.
Wick Substitutions
Wooden wicks give a soft crackling sound and a wide melt pool but require slightly wider sizing than cotton. If switching to wooden wicks, test a sample candle first to confirm the melt pool reaches the jar edges within 3 hours of burning.
Troubleshooting Common Issues
Frosting on the Surface
White, crystalline patches on the surface are a natural characteristic of soy wax. They do not affect scent or burn quality. Pouring at a slightly lower temperature (around 125 F for your final pour) can reduce frosting.
Weak Scent Throw
The most common causes are adding fragrance at too high a temperature, under-measuring the essential oils, or not allowing a full 48-hour set period. Check each variable before adjusting the recipe.
Sinkhole Around Wick
This is normal in soy wax. Always plan for a second pour top-off as part of the process.
Tunneling
If the candle burns only in a narrow column down the center, the wick may be too small for the jar diameter, or the first burn session was cut short before the melt pool reached the edges. Size up your wick on the next batch.
Going Further with Clove-Based Crafts
Candle making is often the first step into a much larger world of clove-based home crafts. If you enjoy working with this oil, our guide to homemade clove soap: a spiced melt-and-pour project walks through a similar process adapted for soap base, where different dilution rules and skin safety considerations apply.
For those interested in the deeper fragrance chemistry behind why clove pairs so well with citrus, woods, and resins, the article on clove oil in perfumery: building a spicy base note at home breaks down the structural relationships between eugenol and other aromatic molecules in practical, approachable terms.
Clove has been at the center of spice trade routes for centuries because it carries real presence. A small amount fills a large space. That same quality is what makes it such a satisfying choice for soy candle making. You do not need a lot of it to make a room feel different. Just a little heat, a little patience, and a pour that smells like somewhere worth being.