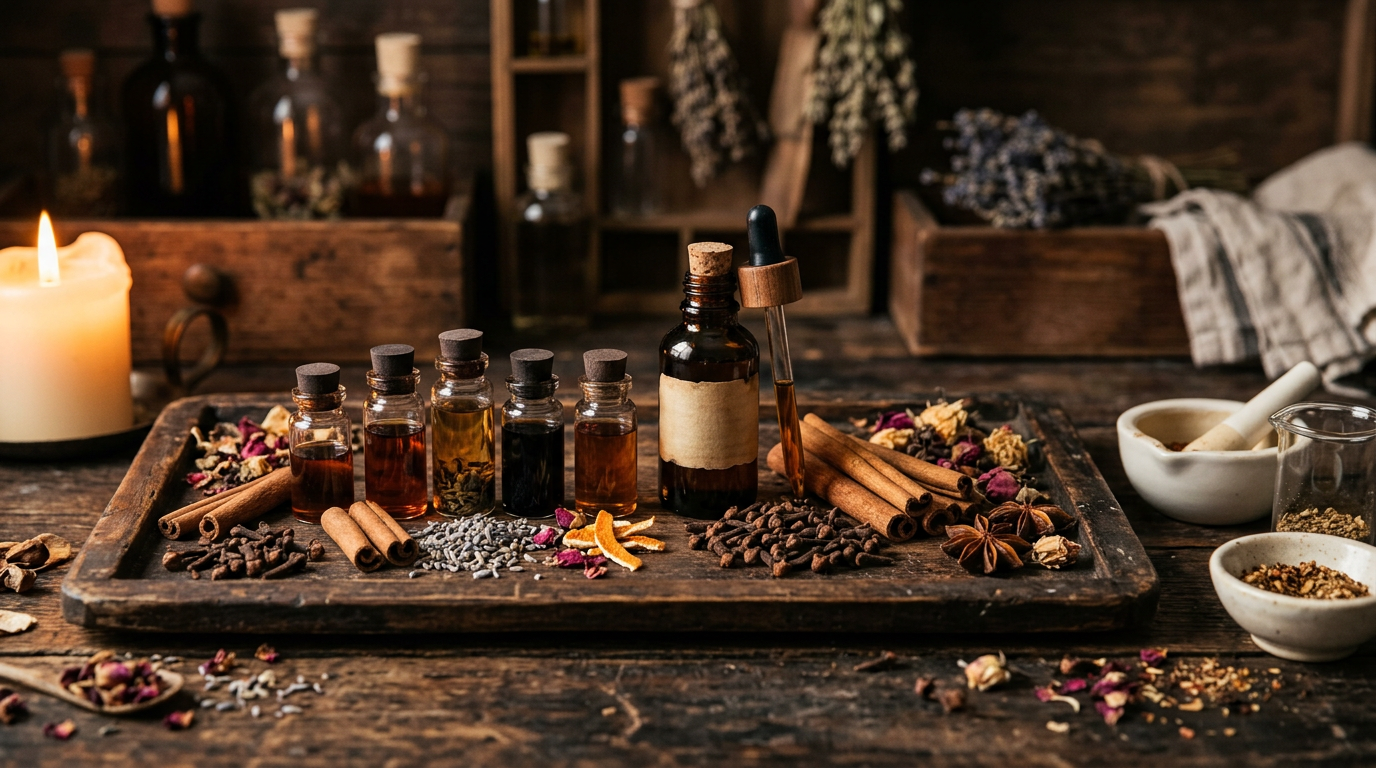
Clove Oil for Home Fragrance Crafts: Wax Melts and Simmer Pots
There is something deeply satisfying about filling a room with a scent you made yourself. Clove essential oil brings that warm, spiced depth that synthetic fragrance oils rarely capture honestly. It smells like the inside of a spice market, or the first week of November when someone nearby is baking. If you have been curious about home fragrance DIY, clove-based projects are a wonderful place to start. The oil is strong, long-lasting, and pairs beautifully with other seasonal ingredients you likely already own.
This guide covers two distinct projects: clove wax melts for your warmer, and a clove simmer pot for the stovetop. Both are beginner-accessible, though the wax melts require a few more supplies. We will walk through full ingredient lists, step-by-step instructions, safety considerations, and several variations so you can make these your own.
If you want the broader picture of how clove oil fits into seasonal home rituals, our complete guide to cozy seasonal use is worth bookmarking before you dive in.
Understanding Clove Essential Oil Before You Craft
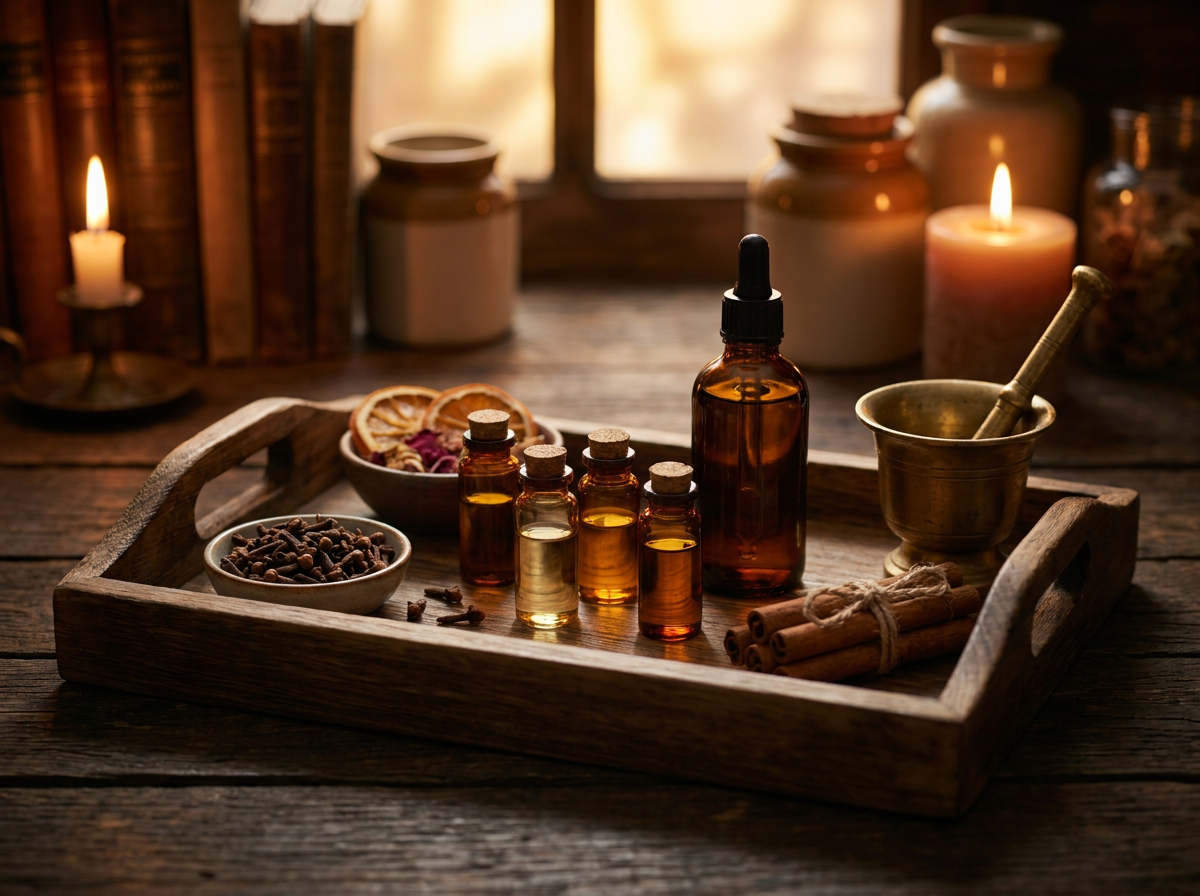
Clove oil comes primarily from two sources: the bud and the leaf. Bud oil is richer, rounder, and more complex in scent. Leaf oil is sharper and more phenolic. For home fragrance crafts, either works, but bud oil tends to produce a warmer, more inviting result. Check your bottle's label before you start. The difference matters for scent character, even if both perform well in wax or water-based applications.
The active constituent responsible for clove's signature scent is eugenol. It is potent. A little goes a long way, which is actually good news for your budget and for keeping your home fragrance balanced rather than overwhelming.
Project One: Clove Wax Melts
Difficulty Level and Prep Time
- Difficulty: Beginner-friendly
- Active prep time: 25 to 30 minutes
- Set time: 2 to 3 hours (or overnight)
- Yield: Approximately 12 wax melt cubes (standard clamshell tray)
What You Will Need (Equipment)
- Double boiler or a heat-safe pouring pitcher set in a pot of simmering water
- Silicone clamshell mold or wax melt cube tray
- Kitchen thermometer
- Rubber spatula or wooden stir stick
- Measuring scale (grams is most accurate)
- Small funnel (optional but helpful)
Ingredients
| Ingredient | Amount | Notes |
|---|---|---|
| Soy wax flakes (container-grade) | 200 g (about 7 oz) | Coconut wax or paraffin also work; see Variations below |
| Clove bud essential oil | 16 to 20 drops (approx. 0.8 to 1 ml) | Do not exceed 1% of total wax weight for wax melts |
| Cinnamon leaf or cassia essential oil (optional) | 6 to 8 drops | Brightens the blend; use leaf rather than bark for a softer note |
| Sweet orange or tangerine essential oil (optional) | 6 to 8 drops | Adds citrus lift; citrus oils are safe at these concentrations in wax melts |
| Wax-compatible colorant (optional) | Pea-sized amount | Cosmetic-grade or candle-specific dye blocks only |
Step-by-Step Instructions
- Set up your double boiler. Fill a medium saucepan with 2 to 3 inches of water and bring it to a gentle simmer. Place your heat-safe pouring pitcher inside. Add the soy wax flakes to the pitcher.
- Melt the wax slowly. Stir occasionally. Keep the temperature between 160°F and 180°F (71°C to 82°C). Do not rush this with direct heat. Wax that overheats can discolor and lose its ability to hold fragrance well.
- Remove from heat and let it cool slightly. Once fully melted, remove the pitcher from the water bath. Allow the wax to cool to around 140°F to 150°F (60°C to 65°C) before adding any essential oils. Adding oils to wax that is too hot causes them to flash off quickly, reducing your scent throw.
- Add essential oils. Pour in your clove oil and any complementary oils. Stir gently but thoroughly for about 60 seconds. Avoid whipping air into the wax.
- Add colorant if using. Drop in a small amount of wax dye block and stir until fully incorporated.
- Pour into the mold. Work steadily. The wax will start to set within minutes. Fill each cube cavity to just below the top edge.
- Allow to set undisturbed. Do not move the mold or disturb the surface while cooling. Let the melts sit at room temperature for at least 2 hours. Overnight is ideal.
- Pop out and store. Once fully solid and cool to the touch, flex the silicone mold to release the cubes. Store in an airtight container.
Safety Warnings for Clove Wax Melts
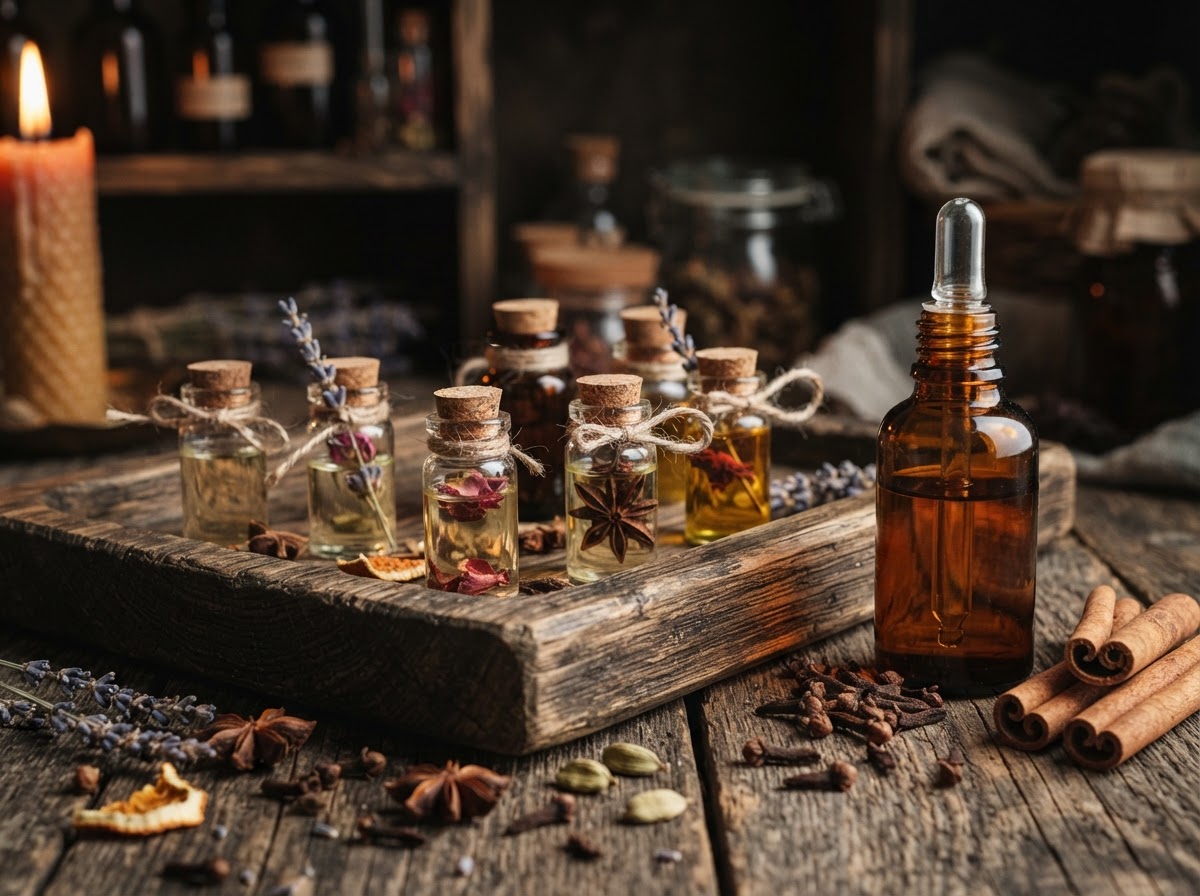
Important: Clove essential oil contains high levels of eugenol, which is a potent sensitizer on skin. Wax melts are designed for use in electric or tea-light warmers only. The melted wax should never contact skin directly. Always use your warmer according to its manufacturer's instructions. Keep wax melts away from children and pets. Never leave a wax warmer unattended, particularly tea-light style warmers.
If you are expecting or nursing, please consult your healthcare provider before using clove-heavy home fragrance products. People with respiratory sensitivities should ensure good ventilation when using any strongly scented wax melt.
Storage Instructions and Shelf Life
Store finished clove wax melts in an airtight container or a sealed zip-top bag, away from direct sunlight and heat. Properly stored, they will hold their scent well for 6 to 12 months. Wax melts kept in warm environments (like a car or a sunny windowsill) may soften or lose fragrance faster. Label your container with the date you made them.
Project Two: Clove Simmer Pot
Difficulty Level and Prep Time
- Difficulty: Very easy
- Active prep time: 5 minutes
- Simmer time: 1 to 3 hours (with water monitoring)
- Yield: One pot, enough to fragrance a medium-to-large room
The clove simmer pot is one of the most approachable home fragrance DIY projects you can do. It requires no molds, no thermometers, and nothing you would not find in a well-stocked kitchen. The result is a rich, layered scent that moves through the whole house.
Ingredients
| Ingredient | Amount | Notes |
|---|---|---|
| Water | 4 to 6 cups | Filtered water produces a cleaner scent, but tap works fine |
| Whole cloves | 2 tablespoons | Dried whole clove buds from the spice aisle |
| Clove bud essential oil | 4 to 6 drops | Added near the end of simmering to preserve the top notes |
| Cinnamon sticks | 2 to 3 sticks | Ceylon cinnamon is sweeter; cassia is bolder |
| Orange peel (fresh or dried) | Peel of 1 orange, or 2 tablespoons dried | Adds brightness; apple slices also work well |
| Star anise (optional) | 2 to 3 pods | Adds a faintly licorice-like depth that rounds out the blend |
| Vanilla extract (optional) | 1 teaspoon | Grocery-store grade is fine; adds a soft, sweet base note |
Step-by-Step Instructions
- Choose your pot. A small-to-medium saucepan works perfectly. Designate one pot for simmer pot use if you plan to make this regularly, since the oils can leave a faint residue.
- Combine water and dry ingredients. Add the whole cloves, cinnamon sticks, orange peel, and any optional botanicals to the pot. Pour in enough water to cover the ingredients by at least an inch.
- Bring to a low boil, then reduce to a simmer. Medium-low heat is your target. You want a steady, gentle simmer, not a rolling boil. A hard boil evaporates the water too quickly and can scorch your ingredients.
- Watch the water level. This is the most important step for safety. Check the pot every 20 to 30 minutes. Add more water as needed to keep the ingredients submerged. Never let the pot run dry.
- Add essential oil near the end. About 20 to 30 minutes before you finish simmering, drop in the clove essential oil. Adding it earlier means the top notes evaporate before they can scent the room effectively.
- Cool and store or discard. When you are finished, let the pot cool completely before handling. See storage notes below.
Safety Warnings for Clove Simmer Pots
Never leave a simmering pot unattended. This is a fire safety matter, not a minor caution. If you need to leave the house or go to sleep, turn off the stove. You can refrigerate the liquid and restart the next day.
Ensure your kitchen has adequate ventilation. A range hood fan on low or a slightly cracked window is ideal. While the scent is inviting, strong essential oil vapors in an unventilated space can cause discomfort, particularly for young children, birds, or individuals with respiratory sensitivities. Clove oil is not suitable for use around cats or birds. Consult your veterinarian before using any strongly scented essential oil product in a home with pets.
If you are expecting or nursing, consult your healthcare provider before using clove-rich simmer pots regularly.
Storage Instructions for Simmer Pot Liquid
Let the cooled liquid strain through a fine mesh strainer. Store the strained liquid in a sealed jar in the refrigerator for up to 5 days. You can reuse the botanical solids (cloves, cinnamon sticks) one or two more times before their scent fades. Dried orange peel holds up better than fresh for multiple uses. Label your jar with the date. Discard if the liquid smells off or develops any cloudiness beyond the expected spice tint.
Variations and Substitutions
For the Wax Melts
- Wax type: Coconut wax produces a creamier appearance and slightly better scent throw. Beeswax creates a honey-toned melt with a naturally warm scent that complements clove beautifully. Paraffin has the strongest cold throw but is petroleum-derived, which matters to some crafters.
- Clove-free base variation: If you find pure clove bud oil too intense, try blending clove leaf oil at half the quantity listed. The leaf variety has a greener, more subdued profile.
- Mulled cider blend: Combine clove, apple fragrance oil, and a touch of nutmeg essential oil. Our guide to winter clove blends and mulled cider scents goes deep on this particular combination.
- Gifting version: Pour into individual clamshell trays, seal, and add a handwritten label with the scent name and date. A set of three or four clove-based wax melt varieties makes a thoughtful seasonal gift. Our clove oil gift guide has more ideas for putting together spiced sets.
For the Simmer Pot
- Winter woodland: Swap orange peel for dried cranberries and a few sprigs of fresh rosemary. Add 2 drops of cedarwood essential oil instead of vanilla.
- Apple spice: Add a sliced apple to the pot alongside the whole cloves and cinnamon. Use apple cider instead of plain water for extra depth.
- Slow cooker version: Add all ingredients to a slow cooker set on low with the lid off (or propped slightly). This is the most hands-off method and works well for long gatherings. Still monitor the water level every hour.
- No essential oil on hand: The whole cloves alone carry plenty of fragrance. The essential oil addition is a bonus, not a requirement. The dried botanical base is what does the heavy lifting in a simmer pot.
A Few Notes on Sourcing
The quality of your clove essential oil shapes the final result of both projects. Look for oils that list the botanical name (Syzygium aromaticum or Eugenia caryophyllata) and the plant part (bud vs. leaf) on the label. A reputable supplier will also provide a gas chromatography (GC) report or batch testing information on request. For home fragrance crafts, cosmetic-grade or aromatherapy-grade oil is appropriate. You do not need to chase ultra-premium food-grade unless your recipe calls for it.
Storage of your clove oil matters too. Keep the bottle tightly sealed, away from light, and in a cool location. Clove bud oil typically has a shelf life of 3 to 4 years when stored well, though the scent remains most vibrant in the first two years after opening.
Bringing It All Together
Clove wax melts and simmer pots are two of the most satisfying home fragrance DIY projects for the colder months. The wax melts give you something to keep, share, or tuck into a drawer for later. The simmer pot is immediate and effortless, filling the kitchen within minutes and making the whole house smell like a spice-trader's dream. Both reward you for paying attention to your ingredients and taking the safety steps seriously.
Start with the simmer pot if you are new to essential oil crafts. Get a feel for how clove oil behaves with heat, how its scent blooms and evolves over an hour of simmering. Then graduate to the wax melts when you are ready for a slightly more involved project. Either way, you are building a home fragrance ritual that is yours from start to finish.